
Stencils can be a great way to add a professional touch to your paint job. When used correctly, they can help you achieve clean lines and sharp edges.
Here are some tips on how to use stencils for a flawless finish:
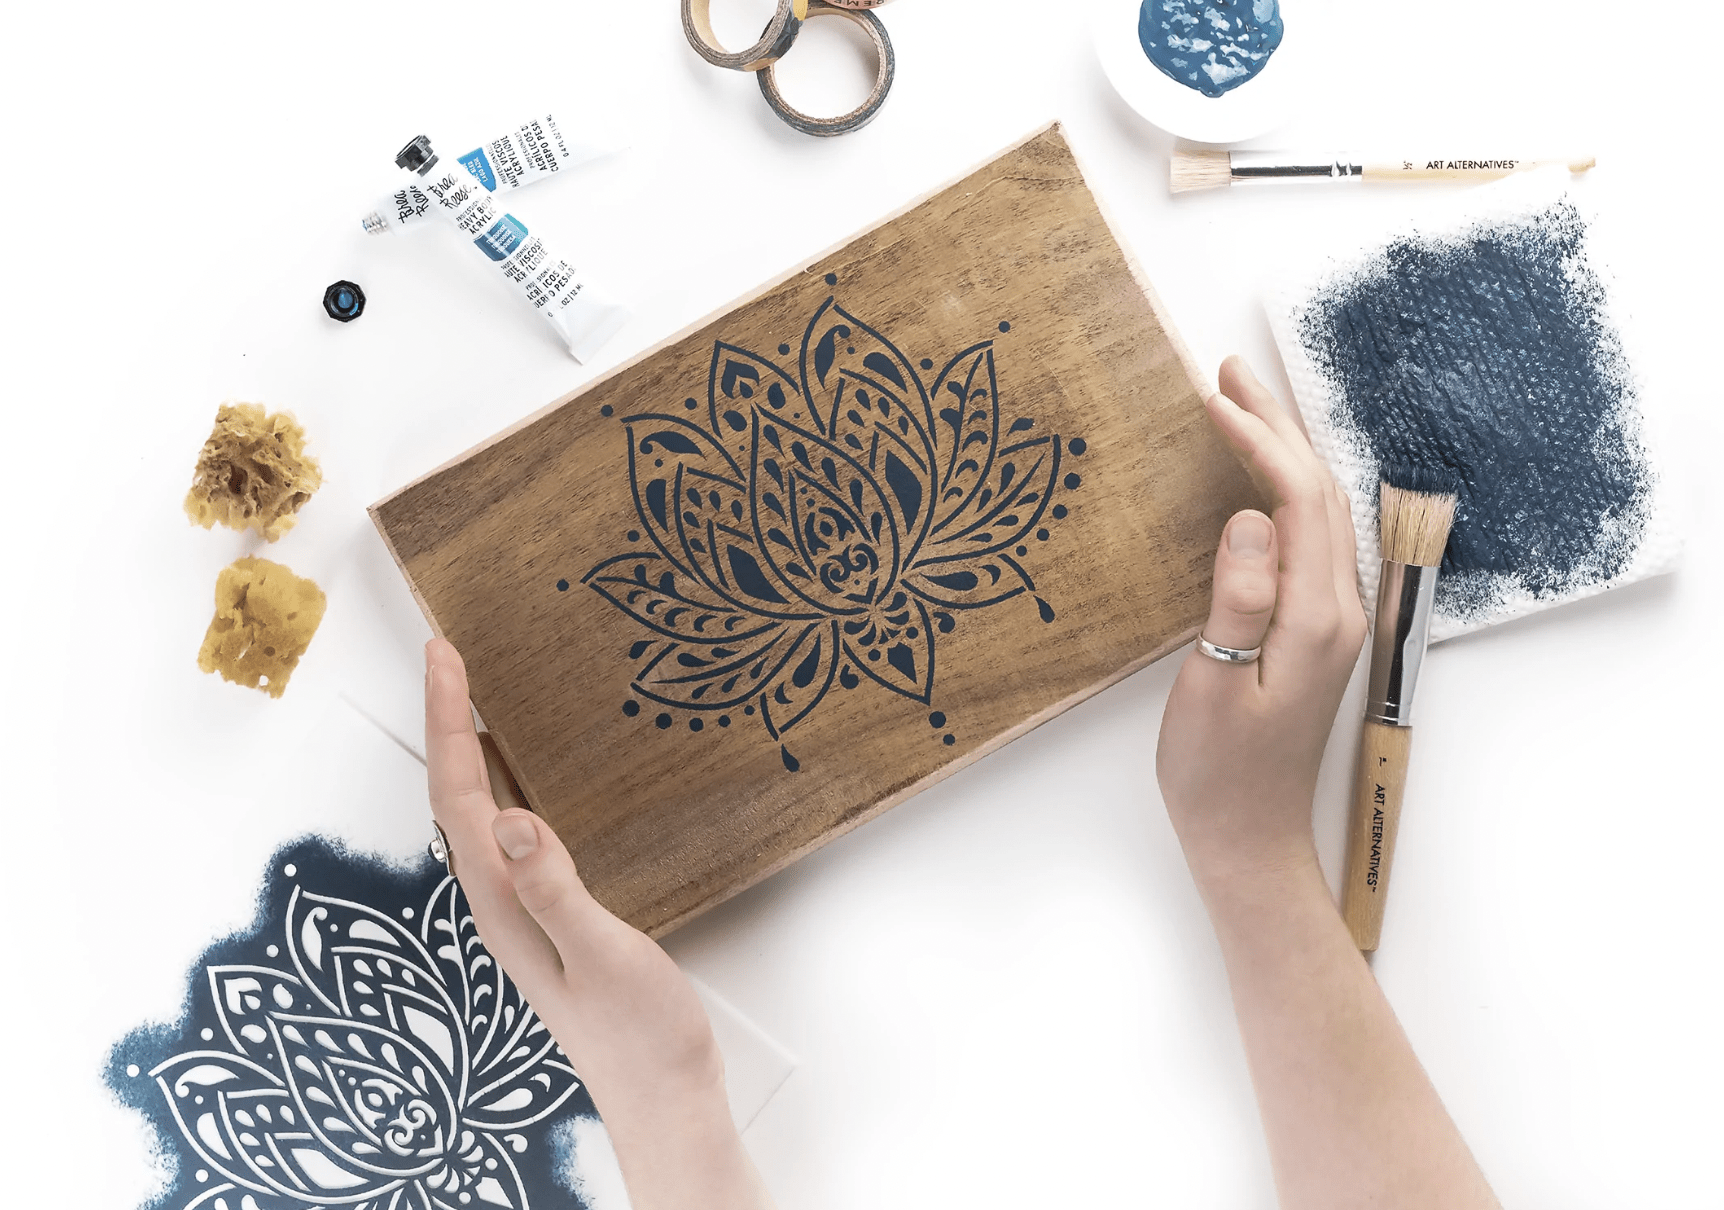
1. Choose the right type of stencil.
There are two main types of stencils: those made with Mylar or acetate, and those made with paper. Mylar or acetate stencils are more durable and easier to clean, but they can be more expensive. Paper stencils are less durable but usually cheaper.
2. Prepare your surface.
Make sure that the surface you’re going to be painting is clean and free of any dirt or debris. If you’re painting over an existing paint job, you may need to sand down the surface to create a smooth texture.
3. Apply the stencil.
There are a few different ways to apply a stencil. You can use tape to secure the stencil in place, or you can hold it down with your hands. Once the stencil is in place, use a brush or roller to apply paint to the surface.
4. Remove the stencil.
Carefully remove the stencil from the surface. If you’re using a letter stencils for painting or acetate stencil, you can clean it and reuse it. If you’re using a paper stencil, you’ll need to discard it after use.
5. Touch up any mistakes.
If you make any mistakes while painting, you can touch them up with a small brush.
With these tips in mind, you can use stencils to create a professional-looking paint job. Just be sure to choose the right type of stencil for your needs, and take your time when applying the paint. With a little practice, you’ll be able to achieve clean, sharp lines and edges.
Stencils can be a great way to achieve a professional-looking paint job without having to hire a professional painter. With a little bit of planning and preparation, you can use stencils to paint walls, ceilings, floors, furniture, and more.
What you’ll need:
- Stencils
- Tape
- Paint
- Sponges or brushes
- Newspaper or drop cloths (optional)
Instructions:
- Choose the stencil design you want to use and tape it securely to the wall or surface you’re painting. If you’re using multiple stencils, plan out the design beforehand so you know where each stencil should go.
- Paint over the stencil with your chosen color using a sponge or brush. Be sure to use a light layer of paint so that it doesn’t bleed under the stencil.
- Remove the stencil carefully and immediately wash it with soap and water if using it again. Repeat the process until you’ve completed your design.
- Let the paint dry completely before moving on to the next step.
- Once the paint is dry, you can add a second layer of color if desired. To do this, simply tape the stencil back in place and repeat the painting process.
- When you’re finished, remove the stencils and enjoy your newly painted wall or surface!
Additional Tips:
- If you’re working with multiple colors, paint each section separately and allow it to dry completely before moving on to the next color. This will help prevent the colors from running together.
- If you’re painting a large area, consider using newspaper or drop cloths to protect your floors and furniture from paint splatters.
- Stencils can be reused multiple times if they’re properly cared for. Be sure to wash them immediately after use and store them in a safe place until you’re ready to use them again.
Conclusion:
Stencils are a great way to add a professional touch to your painting projects. With a little bit of planning and preparation, you can use stencils to create clean, sharp lines and edges. Just be sure to choose the right type of stencil for your needs, and take your time when applying the paint. With a little practice, you’ll be able to achieve flawless results.
Stencils can be a great way to achieve a professional-looking paint job without having to hire a professional painter. With a little bit of planning and preparation, you can use stencils to paint walls, ceilings, floors, furniture, and more. Just be sure to choose the right type of stencil for your needs, and take your time when applying the paint. With a little practice, you’ll be able to achieve clean, sharp lines and edges.